
Hair Tool Maintenance 101: Cleaning Your Styling Tools for Longer Life
With a little TLC, hair styling tools can be your grooming companion for years to come. But have you ever considered how to clean your hair tools, or whether cleaning them is even necessary?
Cleaning and maintaining your hair tools is as essential as changing your car oil or cleaning your dryer vent.
In this blog, we will explore everything you need to know about cleaning your hair tools: blow dryers, flat irons, curling irons, and brushes.
WHY CLEANING YOUR HAIR TOOLS MATTERS
Ensure Better Performance: Over time, residue from hair products, oils, and dust can build up on your tools. This buildup can reduce heat efficiency, making your styling sessions take longer and deliver uneven results.
Promote Healthy Hair: Dirty styling tools can harbor bacteria, oil, and product residue — all of which can transfer back onto your hair and scalp.
Increase Longevity: Consistent cleaning and maintenance can prolong the lifespan of styling tools, allowing you to enjoy top performance and avoid costly replacements.
General Tips:
Clean Regularly: Wipe down tools after each use and deep clean them monthly.
Store Properly: Keep tools in a cool, dry place. Avoid wrapping cords tightly around handles to prevent wire damage.
Handle with Care: Avoid dropping or mishandling tools to prevent damage.
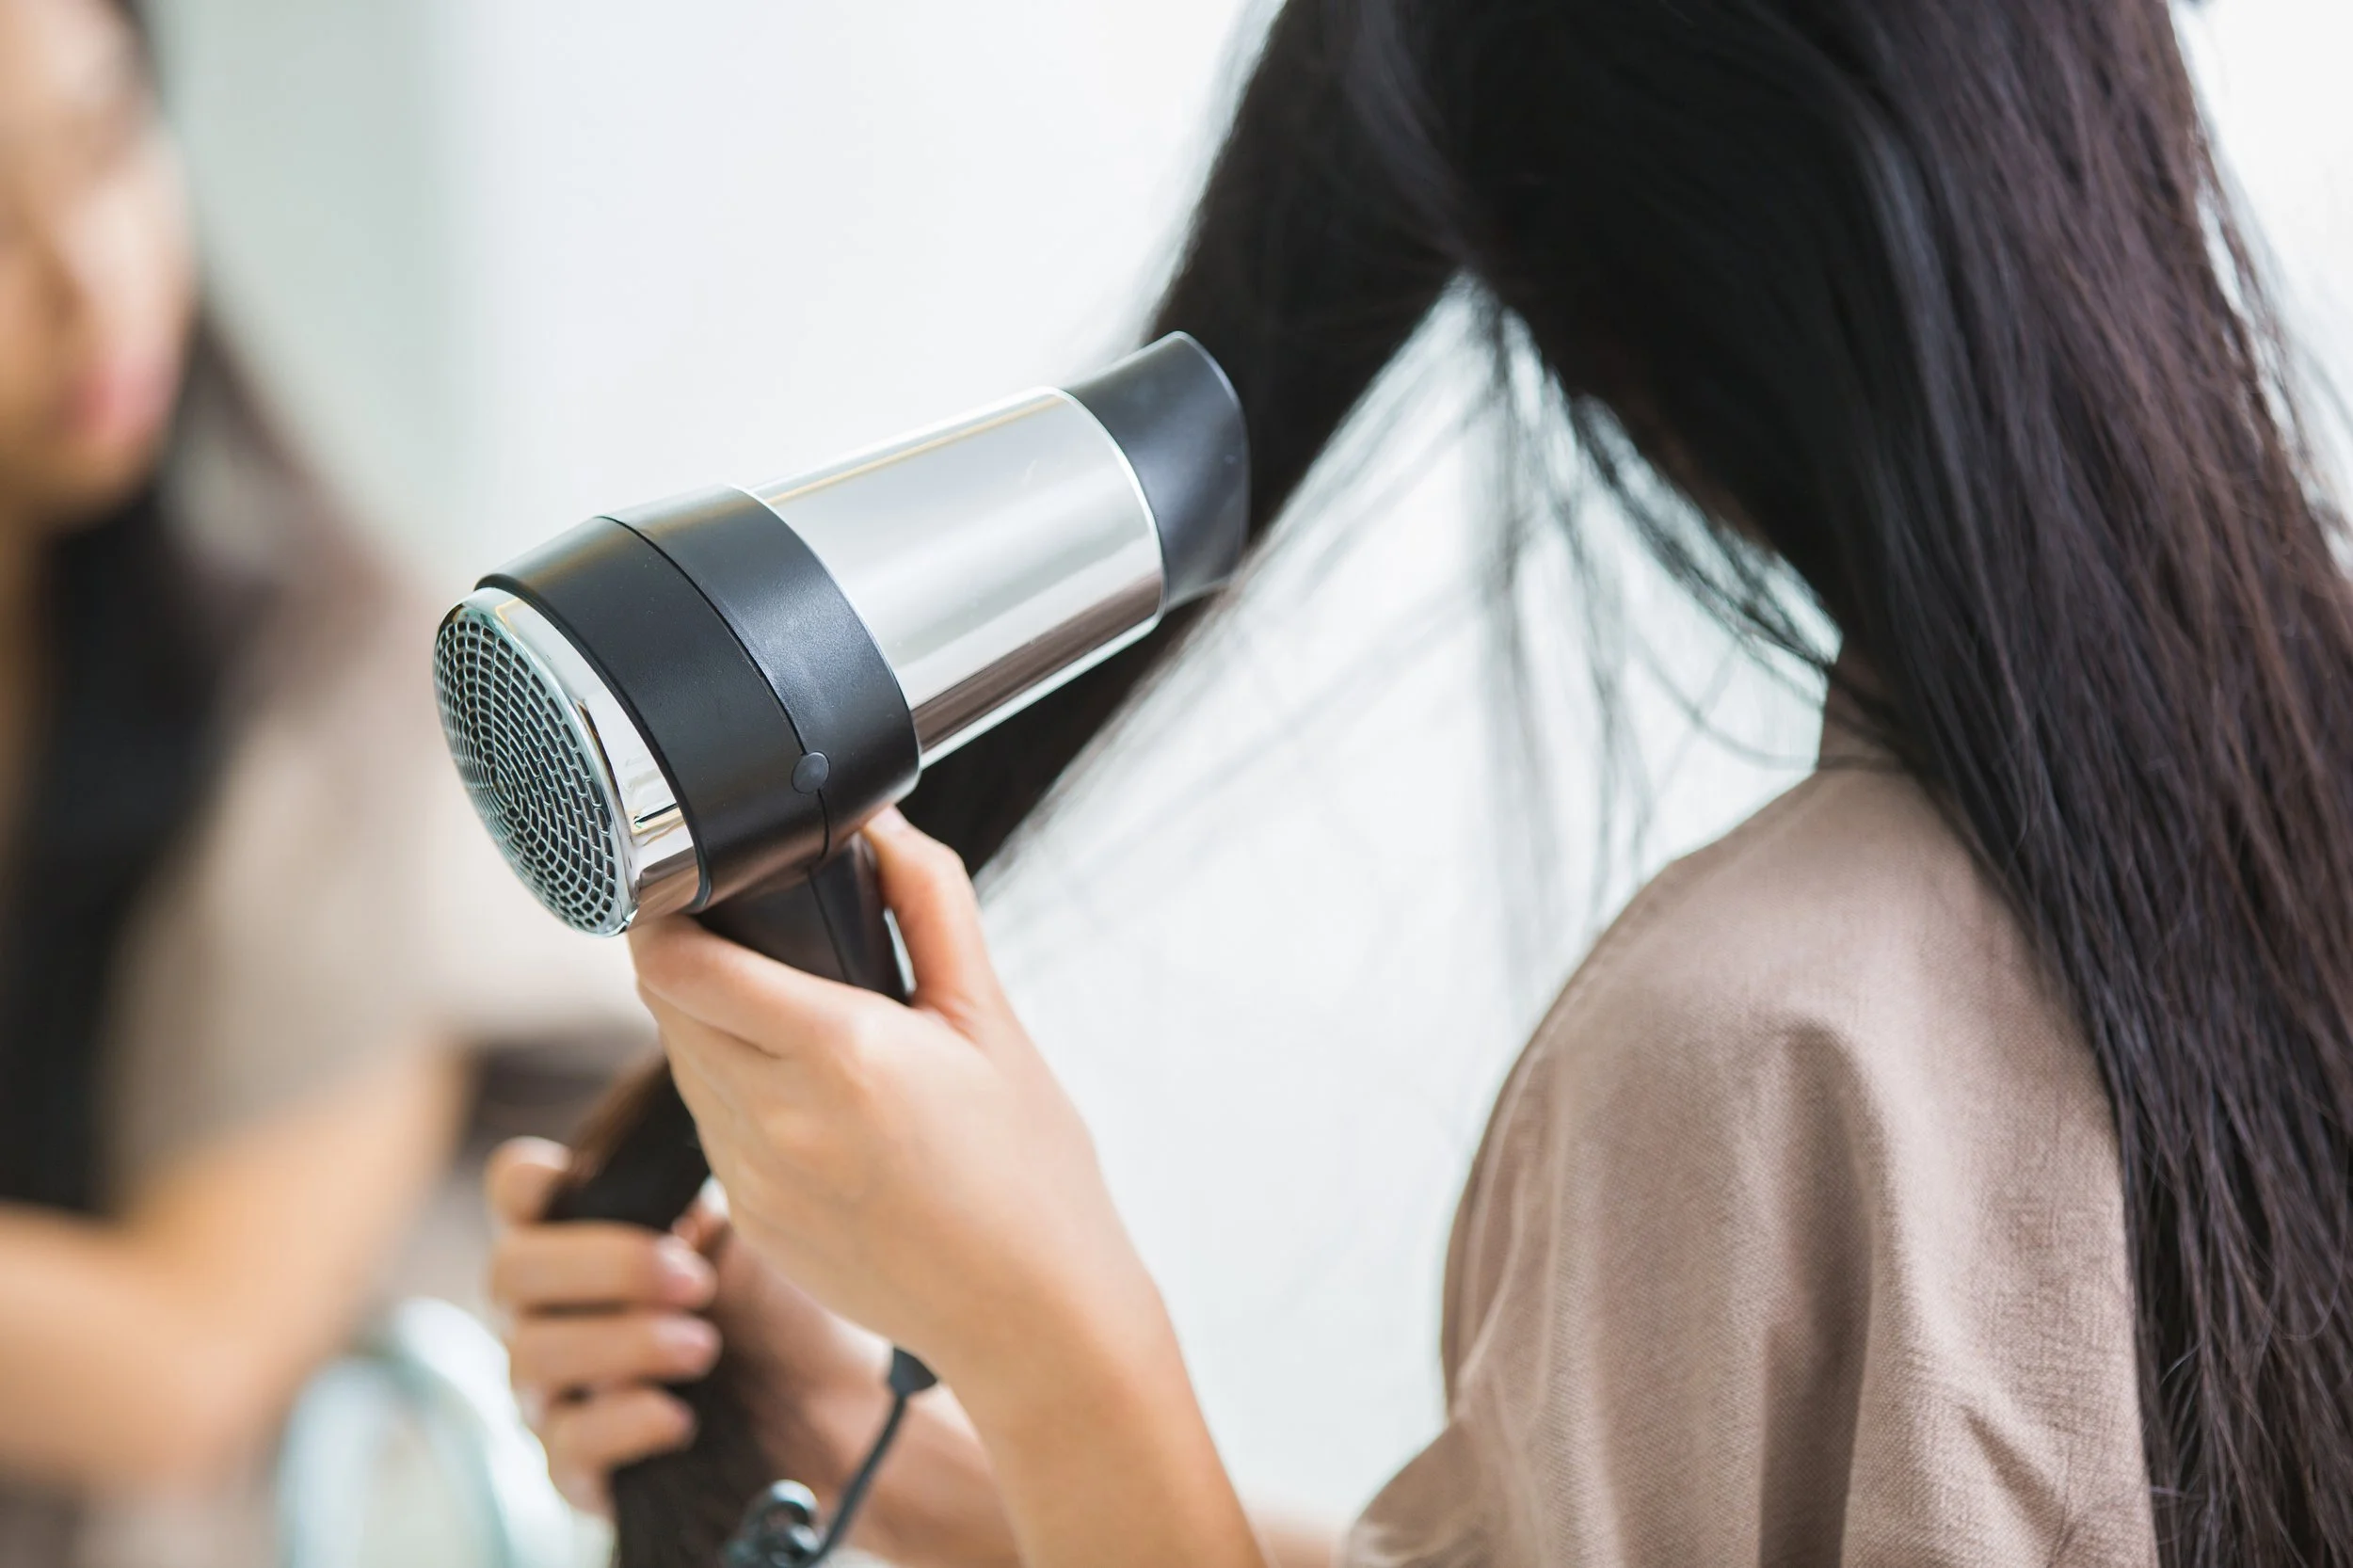
CLEANING YOUR HAIR DRYER
Like any tool, your hair dryer needs a little care to perform its best. Dryer vents allow air to flow through the motor, protecting it from overheating, while filters trap dust, hair, and product residue.
Cleaning your blow dryer’s vent and filter weekly helps protect the motor and maintain clean, consistent airflow, ensuring a longer and more efficient lifespan.
💡Pro Tip:
If your hair dryer overheats and shuts off mid-use, it’s a sign the vent is clogged. Keep it clean to save time and ensure smoother, faster drying.
1. Safety First:
Unplug and Cool: Always unplug your hair dryer and let it cool completely before cleaning to avoid electric shock or burns.
Check the Manual: Always refer to your hair dryer’s manual for model-specific cleaning instructions.
2. Clean the Filter:
Locate Filter: Most hair dryers have a removable filter at the back — twist or pull it off according to your manual.
Remove Debris: Gently tap or brush the filter to dislodge dust and debris.
Deep Clean (if washable): If the filter is washable, rinse it with warm, soapy water. Let it dry fully before reattaching.
3. Clean the Air Vents:
Brush: Use a small brush or an old toothbrush to gently brush away dust and lint from the air vents.
Vacuum (optional): For a more thorough cleaning, you can use a vacuum cleaner with a brush attachment to remove debris from the vents.
4. Clean the Exterior:
Wipe Down: Use a soft cloth dampened with warm water or isopropyl alcohol to wipe down the exterior, including the handle and buttons.
⚠️ Avoid getting moisture in the vents or motor.
5. Clean Nozzles and Attachments:
Detach and Wash: If your hair dryer has removable nozzles or a diffuser, take them off and wash them with, warm soapy water.
Dry Thoroughly: Allow all attachments to air dry completely before reattaching.
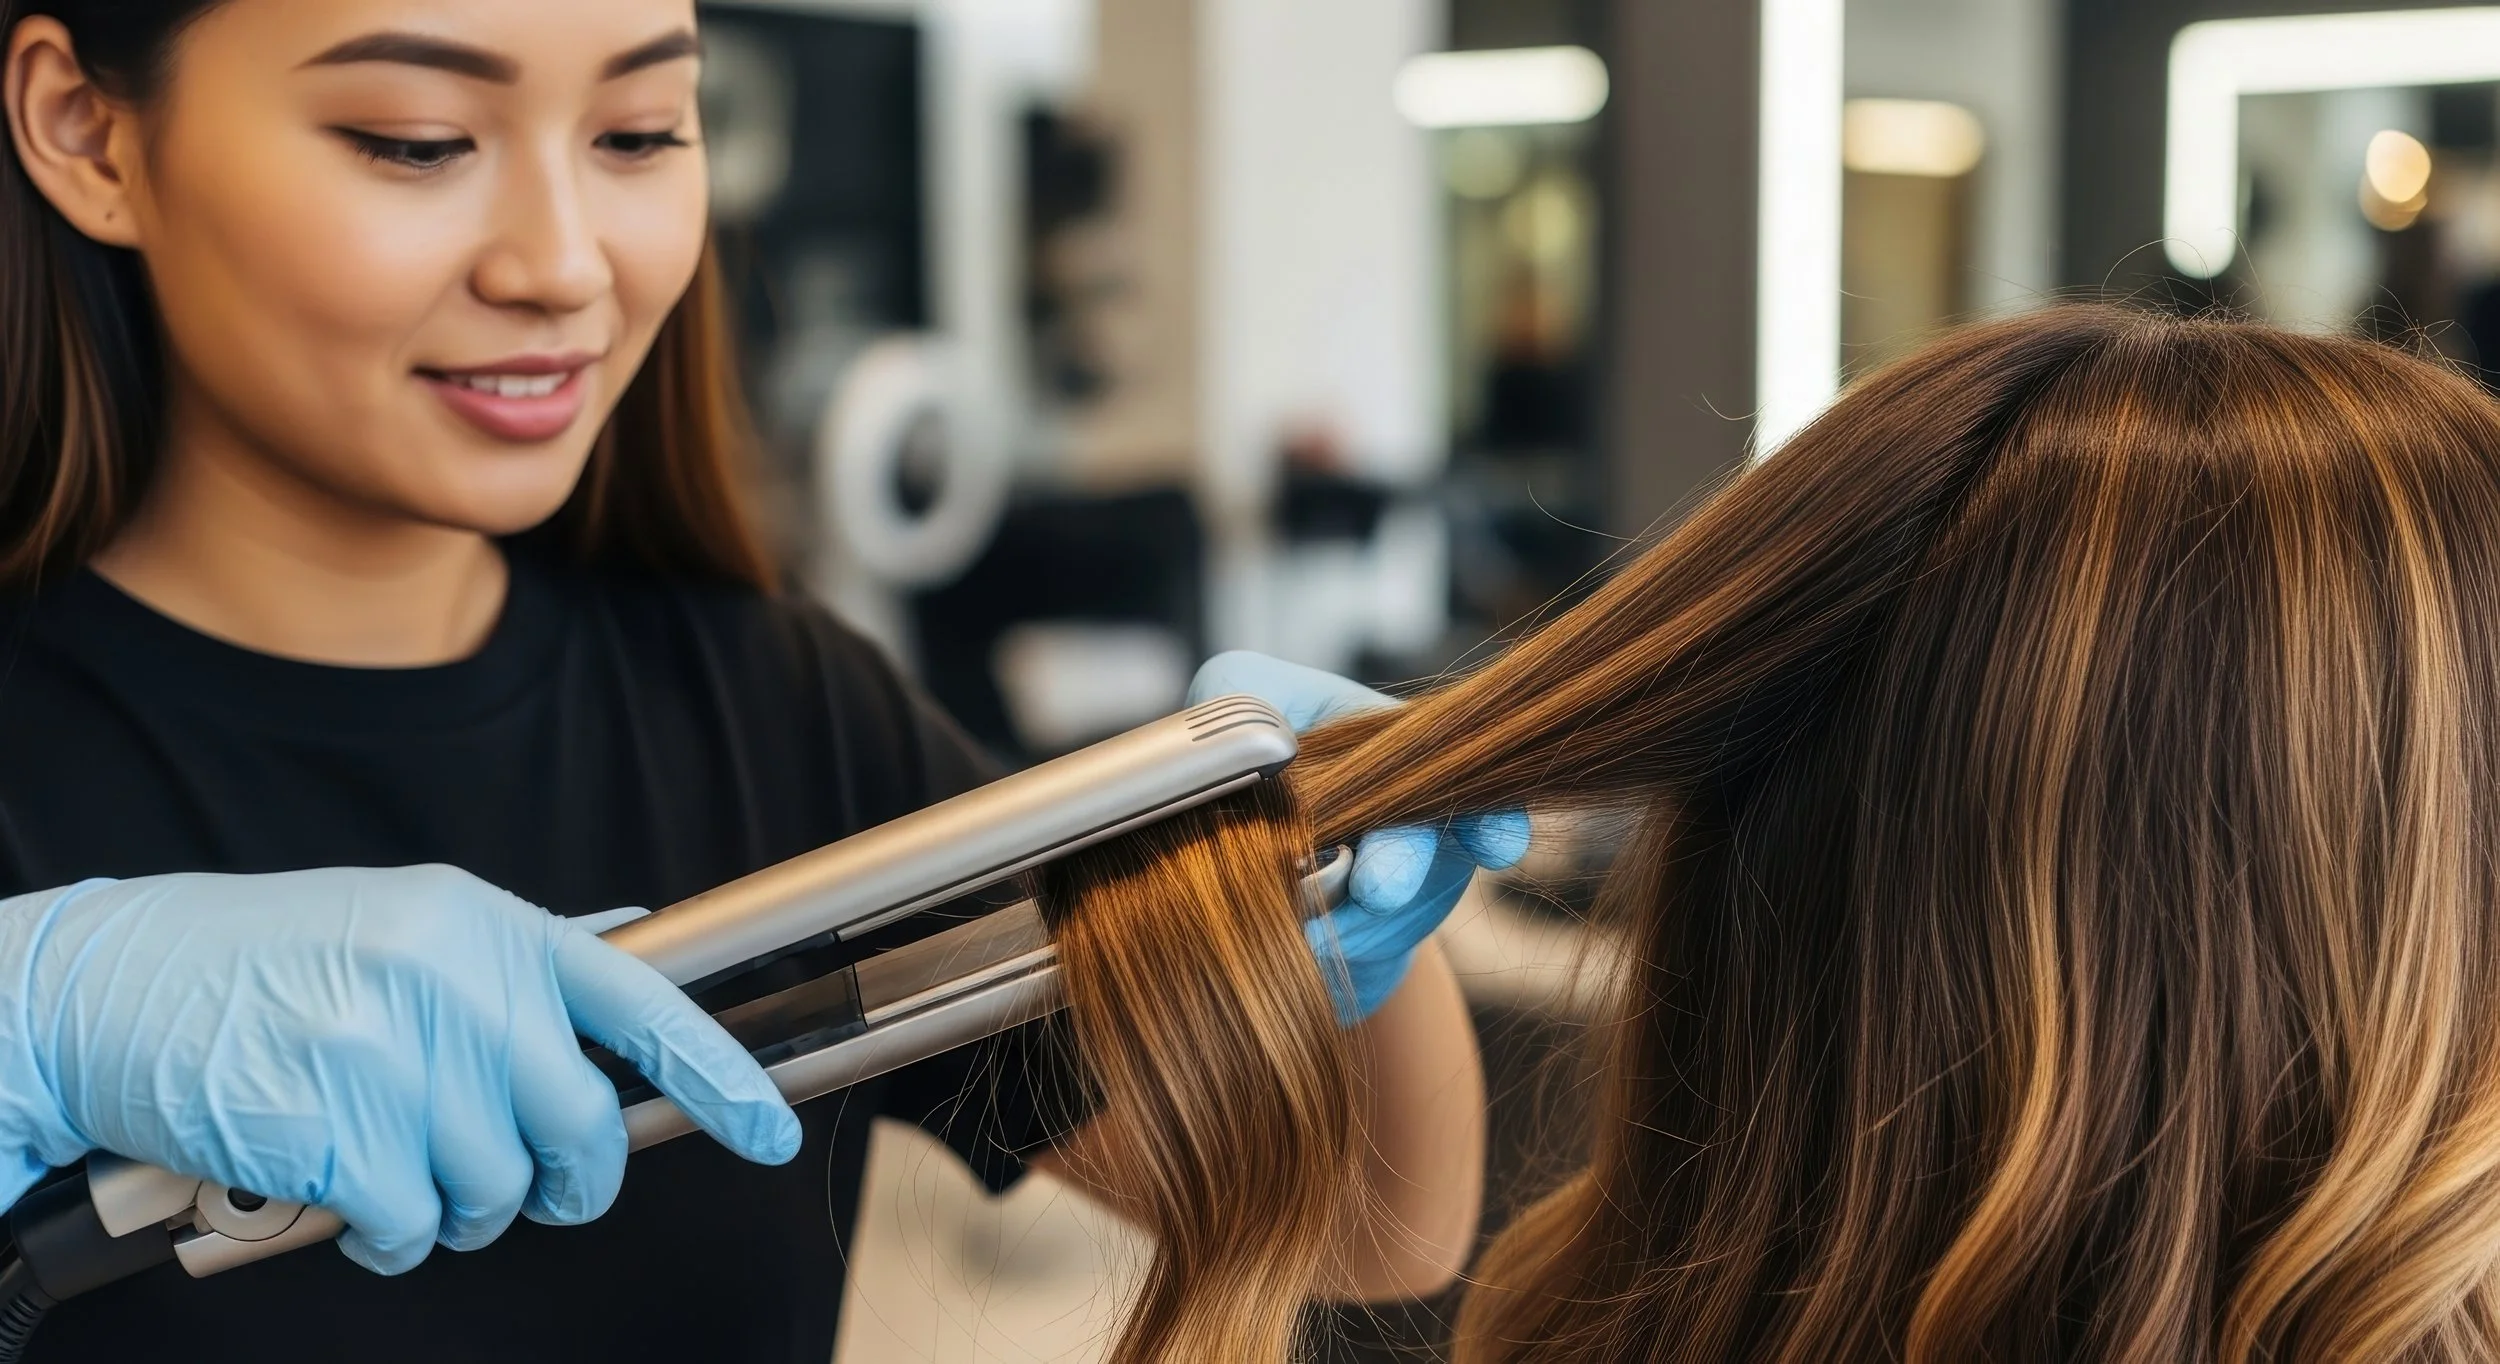
CLEANING YOUR FLAT IRON & CURLING IRON
Keeping your straightening and curling irons clean is essential for both hygiene and performance. Over time, styling products, oils, and residue can build up on the plates or barrels, causing dullness, breakage, uneven heat distribution and potentially damaging the iron itself. Regular cleaning helps your tools glide smoothly, heat evenly, and protect your hair’s health and shine.
Before you start:
Unplug and Cool Down: Always unplug your tool and let it cool completely before cleaning to prevent burns or electric shock.
Gather Supplies: You’ll need a soft (preferably microfiber) cloth, cotton balls or swabs, and your choice of cleaning solution.
Cleaning Methods:
Damp Cloth (For Light Buildup)
Dampen a soft cloth with warm water.
Wipe down the plates or barrel while the tool is slightly warm but safe to touch.
Dry with a clean microfiber cloth.
Rubbing Alcohol (For More Stubborn Buildup)
Dampen a cotton ball or pad with isopropyl alcohol.
Wipe any sticky areas to dissolve product buildup.
Let the alcohol sit for a few minutes if needed.
Wipe again with a clean, damp cloth, then dry completely.
Baking Soda Paste (For Heavy, Baked-On Residue)
Mix 1 tablespoon of baking soda with 1 teaspoon of water to form a paste.
Apply gently with a soft cloth and rub in circular motions.
Wipe away the paste and residue with a damp cloth.
Repeat if necessary, then dry thoroughly.
Specialized Iron Cleaner
Commercial cleaning solutions made for flat or curling irons can be very effective.
Follow the product’s instructions carefully.
Vinegar Solution (Natural Alternative)
Mix equal parts white vinegar and water in a spray bottle.
Lightly spray the plates or barrel and let it sit for a few minutes.
Wipe clean with a damp cloth and dry with a microfiber towel.
📝 Important Reminders:
Avoid abrasive tools or harsh cleaners that could scratch the surface.
Never submerge your iron in water.
Skip oil-based cleaners, which can cause more buildup.
Let your iron air dry completely before plugging it back in.
Wipe the handles and cord regularly — they collect dirt and styling residue too
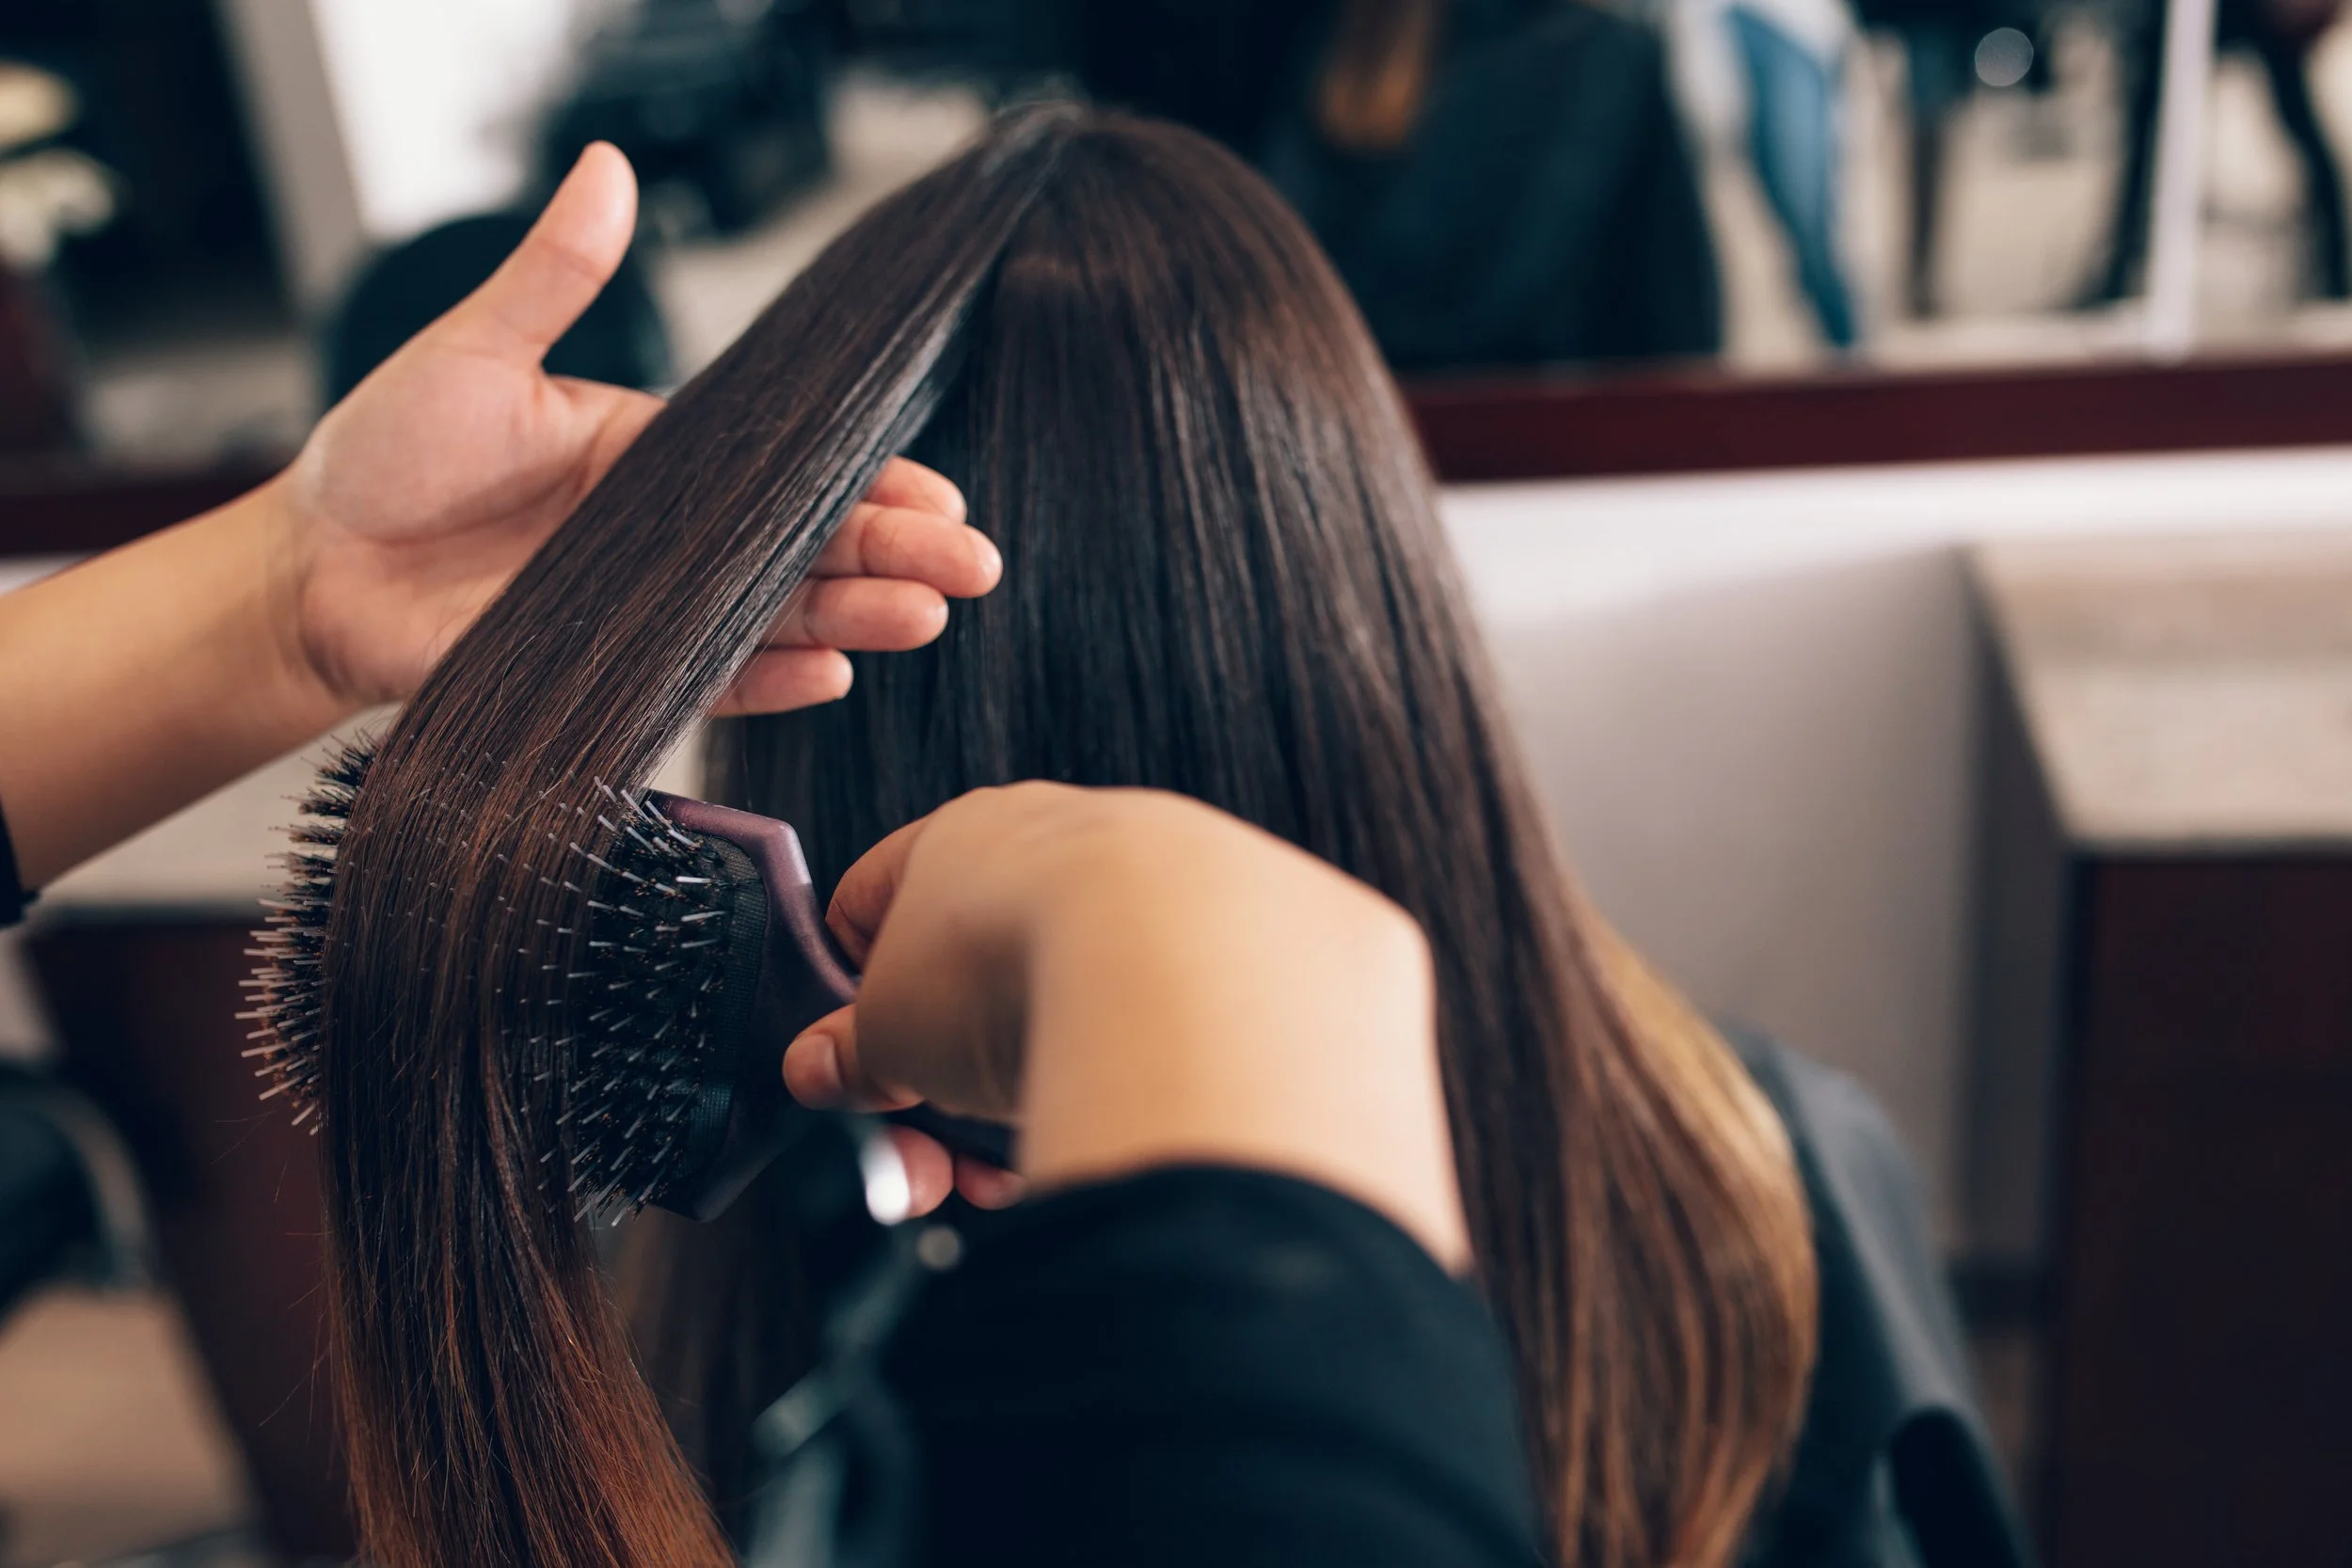
CLEANING YOUR HAIR BRUSH
Keeping your hairbrush clean is essential for maintaining a healthy scalp and beautiful hair. Over time, product buildup, oils, and dirt can accumulate in the bristles, making your brush less effective and spreading residue back into clean hair. Regular cleaning can help remove residue and bacteria, ensuring your brush stays fresh and hygienic.
1. Remove Loose Hair:
Finger Removal: Use your fingers to manually pull out large clumps of hair caught in the bristles.
Comb or Pointed Tool: For more stubborn strands, use a comb or a pointed object (like the end of a rat-tail comb, pen, or chopstick) to lift and loosen hair from the base.
Scissors (If Needed): Carefully snip through thick knots or tangles to make removal easier.
2. Wash the Brush:
Prepare a Cleaning Solution: Fill a bowl or sink with warm water and add a few drops of mild shampoo or dish soap.
For Synthetic Brushes:
Fully submerge brushes with plastic handles and synthetic bristles in the soapy water.
Let them soak for about 10 minutes to loosen buildup.
For Wooden or Natural-Bristle Brushes:
Avoid soaking — it can warp the wood and damage natural bristles.
Instead, dip just the bristles briefly into the soapy water, keeping the handle dry.
Scrub The Bristles: Use a clean toothbrush to gently scrub between the bristles and along the base. Focus on areas with oil, residue, or “fuzzies” (a mix of dust, lint, and product buildup).
Rinse thoroughly: Rinse the brush under warm running water until all soap is gone.
3. Dry the Brush:
Shake Off Water: Gently shake the brush to remove excess moisture.
Air dry: Lay the brush on a clean towel with the bristles facing down. This allows water to drain away from the base, preventing mold and mildew.
📝 Important Notes:
Frequency: Clean your brush every 2–4 weeks.
Natural Bristles: These absorb oils more easily and may need more frequent cleaning. Clean them with sulfate-free shampoo to prevent damage.
Wooden Handles: Avoid soaking wooden brushes in water to prevent damage.
Disinfection (Optional): For extra sanitation, use a disinfecting spray (like Lysol) or a diluted solution of isopropyl alcohol and water. Avoid alcohol on natural bristles, as it can dry them out.
Cleaning your hair tools is a very important practice to adhere to on a frequent basis. Regularly implementing these cleaning tips can vastly improve the longevity of your tools and also provides a clean working environment for your guests and at home use.
Ready to transform your hair? Shop Hair Styling Tools today and experience salon-worthy results from home.
MALY’S @MANOCOBLUE:
📞 Customer Care: 888.767.7631
🌐 Website: www.manocoblue.com
Click HERE to shop Hair Styling Tools!